Heart Rate Zones: Train Smarter
“Train in the right zone” sounds catchy… but what does it really mean? This guide breaks down heart rate zones in clear language—how they’re defined, how to calculate them, what each zone does inside your body, and how to use them week to week. We’ll stick to methods supported by peer-reviewed research so your training choices rest on solid ground.
Quick heads-up: If you take heart-rate-affecting meds (like β-blockers) or have a heart condition, zones based on heart rate can shift. Talk with your clinician before using HR targets for training. (See “Special cases” below.)
1 What do “heart rate zones” actually measure?
Heart rate zones are intensity domains—ranges where your body behaves differently (metabolically and ventilatorily). The most physiologically grounded way to define these domains uses two ventilatory (or lactate) thresholds found during an incremental test:
- VT1 (first ventilatory threshold): transition from “easy” to “steady but taxing.”
- VT2 (respiratory compensation point): where buffering can’t keep up—hard efforts become unsustainable.
This creates a 3-zone model:
Zone 1: below VT1 (easy); Zone 2: VT1–VT2 (moderate/heavy); Zone 3: above VT2 (severe).
Many apps and wearables use a 5-zone model based on percentages of heart-rate reserve (HRR) or HRmax. HRR (a.k.a. Karvonen method) tracks your cardiovascular effort more closely because %HRR ≈ %VO₂ reserve, which maps better to metabolic stress than %HRmax alone.
2 Two practical models you can use
The three-zone model (threshold-anchored)
- Zone 1 (below VT1): comfortable, conversational.
- Zone 2 (VT1 to VT2): challenging steady work.
- Zone 3 (above VT2): hard, interval territory.
This model is favored in research because it ties zones to measurable physiology.
The five-zone model (HR-anchored)
If you don’t have lab thresholds, %HRR (or %HRmax) gives a usable approximation for healthy adults:
- Z1 (Recovery/Aerobic base): ~30–60% HRR (~50–70% HRmax)
- Z2 (Endurance): ~60–70% HRR (~70–80% HRmax)
- Z3 (Tempo/Threshold): ~70–80% HRR (~80–87% HRmax)
- Z4 (VO₂max): ~80–90% HRR (~87–95% HRmax)
- Z5 (Anaerobic): >90% HRR (>95% HRmax)
Ranges vary by individual; HRR is preferred over HRmax where possible because of its closer relationship with metabolic stress.
3 How to calculate your zones (fast)
Calculator: Heart Rate Zones Calculator
Step 1 — Estimate HRmax without a lab
 The widely validated general-population equation is HRmax ≈ 208 − 0.7 × age. Expect individual error of roughly ±10 bpm (and larger in some people). Alternatives exist, but all have error—so treat any age-based HRmax as a starting point, not gospel.
Step 2 — Compute Heart-Rate Reserve (HRR)
Measure resting HR (sit quietly 5 min).
HRR = HRmax − HRrest.
Apply the %HRR ranges above to get your zone boundaries. This method aligns more closely with %VO₂ reserve—the metabolic effort you care about.
Bonus accuracy — Anchor to your thresholds
If you can access a treadmill/bike test with gas exchange (or a well-run lactate test), use VT1 and VT2. Threshold-anchored zones individualize better and often improve responsiveness to training versus generic %HR prescriptions.
Calculator: https://calc4health.net/target_heart_rate/
4 What does each zone do for you?
- Zone 1 (below VT1): Builds your aerobic base—denser capillaries, more mitochondria, better fat oxidation, and quicker recovery between hard days. It’s the quiet hero of endurance.
- Zone 2 (VT1→VT2): Improves sustainable pace and raises the “ceiling” where you can clear and reuse lactate. Great for tempo runs and long steady rides.
- Zone 3 (above VT2, intervals): Drives VO₂max and high-end performance with time-efficient gains when used sparingly.
The takeaway: most weeks benefit from a lot of low-intensity time plus small, focused doses of high-intensity—with moderate work used selectively.
5 How much time in each zone? (the big picture)
Observational and interventional research in trained endurance athletes often shows that an “80/20” style distribution—lots of low intensity, a little high intensity—outperforms threshold-heavy plans for building performance over time. In a head-to-head trial, polarized training produced the largest improvements in VO₂peak and time-to-exhaustion versus high-volume, threshold-heavy, or HIIT-only programs.
That doesn’t mean everyone needs a strict 80/20 split, but it’s a useful anchor: pile volume in Zone 1, then sprinkle in Zone 3 intervals tailored to your sport and recovery.
6 Special cases & smart monitoring
- Medications (β-blockers, etc.): These lower HR at rest and during exercise and blunt the HR increase with effort. If you’re on them, HR-based zones shift and perceived exertion or power/pace + talk test may be safer guides. Get individualized advice from your clinician or cardiac rehab team.
- Wearables accuracy: Chest-strap ECG sensors (e.g., Polar H-series, Garmin HRM) are typically more accurate than wrist optical sensors during exercise—especially at higher intensities. If you train by zones or need reliable interval targets, use a strap.
7 A simple, research-aligned week
- 2–4× Zone 1 sessions (short easy runs/rides or brisk walks): conversational, relaxed.
- 1–2× Zone 3 interval sessions (e.g., 4–6 × 3–5 min hard with equal recovery), built gradually.
- Optional Zone 2: a weekly tempo or steady ride—use judiciously if it starts to crowd out easy volume.
- Strength 2×/week for health and performance (per ACSM).
Listen to recovery signals, progress conservatively, and adjust zones if your resting HR, HRV, or performance trends change.
8 FAQs (evidence-based & concise)
Are five zones “better” than three?
Neither is universally “better.” Three-zone models map directly to VT1/VT2 physiology; five-zone splits are convenient and can mirror the same domains via %HRR. Use the model you can measure reliably.
Do I need a lab test?
No—%HRR works well for healthy adults. But if you can get VT1/VT2 (lab or high-quality field methods), training can be more individualized and responsive.
What’s the best formula for HRmax?
Use 208 − 0.7×age as a default, knowing any age formula has meaningful error. Adjust with real data over time.
My wrist watch jumps around during intervals—normal?
Common. Optical sensors can lag or misread with motion; a chest strap improves accuracy for zone work and intervals.
Is “Zone 2 training” magic for fat loss?
It’s great for aerobic base and fat oxidation, but total energy balance and sustainable volume matter more than a single zone. Combine easy volume with strength and some intervals for best results.
Conclusion
If you remember just three things:
- Anchor intensity to physiology when you can (VT1/VT2) and use %HRR as a solid fallback.
- Do lots of easy work and a little hard work—that blend consistently wins.
- Measure well (chest strap > wrist) and adjust as your fitness, recovery, and goals evolve. Your zones are a living map—update them as you get stronger.
- Tanaka H, Monahan KD, Seals DR. J Am Coll Cardiol. 2001. DOI: 10.1016/S0735-1097(00)01054-8.
- Garber CE et al. ACSM Position Stand. Med Sci Sports Exerc. 2011. DOI: 10.1249/MSS.0b013e318213fefb.
- Swain DP, Leutholtz BC. Med Sci Sports Exerc. 1997. DOI: 10.1097/00005768-199703000-00018.
- Swain DP et al. Med Sci Sports Exerc. 1998. DOI: 10.1097/00005768-199802000-00022.
- Seiler KS, Kjerland GØ. Scand J Med Sci Sports. 2006. DOI: 10.1111/j.1600-0838.2004.00418.x.
- Stöggl TL, Sperlich B. Front Physiol. 2014. DOI: 10.3389/fphys.2014.00033.
- Gaskill SE et al. Med Sci Sports Exerc. 2001. DOI: 10.1097/00005768-200111000-00007.
- Pallarés JG et al. PLoS One. 2016. DOI: 10.1371/journal.pone.0163389.
- Keir DA et al. Med Sci Sports Exerc. 2015. DOI: 10.1249/MSS.0000000000000613.
- Laursen PB, Jenkins DG. Sports Med. 2002. DOI: 10.2165/00007256-200232010-00003.
- Nes BM et al. Scand J Med Sci Sports. 2013. DOI: 10.1111/j.1600-0838.2012.01445.x.
- Treff G et al. Front Physiol. 2019. DOI: 10.3389/fphys.2019.00707.
- Kaufmann S et al. Sports Med Open. 2023. DOI: 10.1186/s40798-023-00607-2.
- Caen K et al. Eur J Appl Physiol. 2022. DOI: 10.1007/s00421-022-04942-2.
- Bishop DJ et al. Physiology (Bethesda). 2019. DOI: 10.1152/physiol.00038.2018.
- Etiwy M et al. Cardiovasc Diagn Ther. 2019. DOI: 10.21037/cdt.2019.04.08.
Related Articles
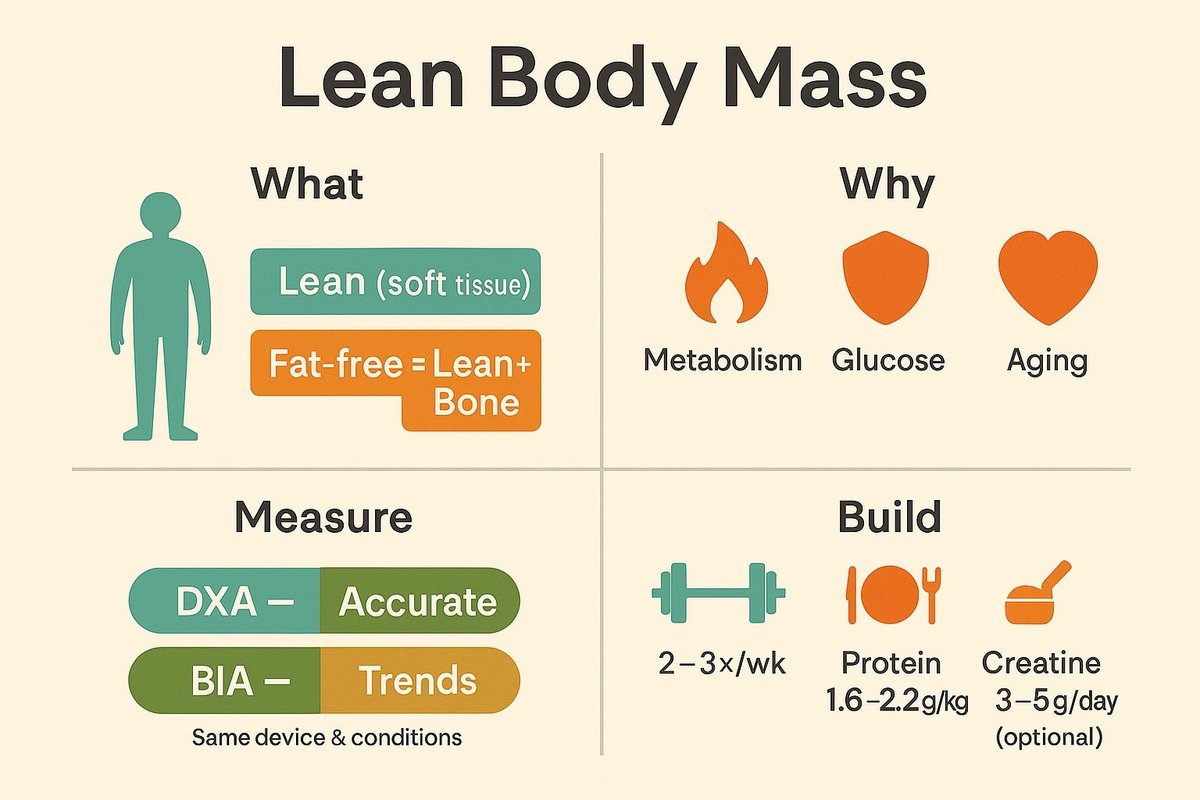
Lean Body Mass: What It Is, Why It Matters, and How to Build It (Without Complicating Your Life)
Lean body mass (LBM) is more than “looking toned.” It drives your metabolism, supports healthy agin…

Total Daily Energy Expenditure (TDEE): The Science-Backed Guide with Real-World Tips
Your practical, science-first tour of Total Daily Energy Expenditure (TDEE): what it is, how to est…
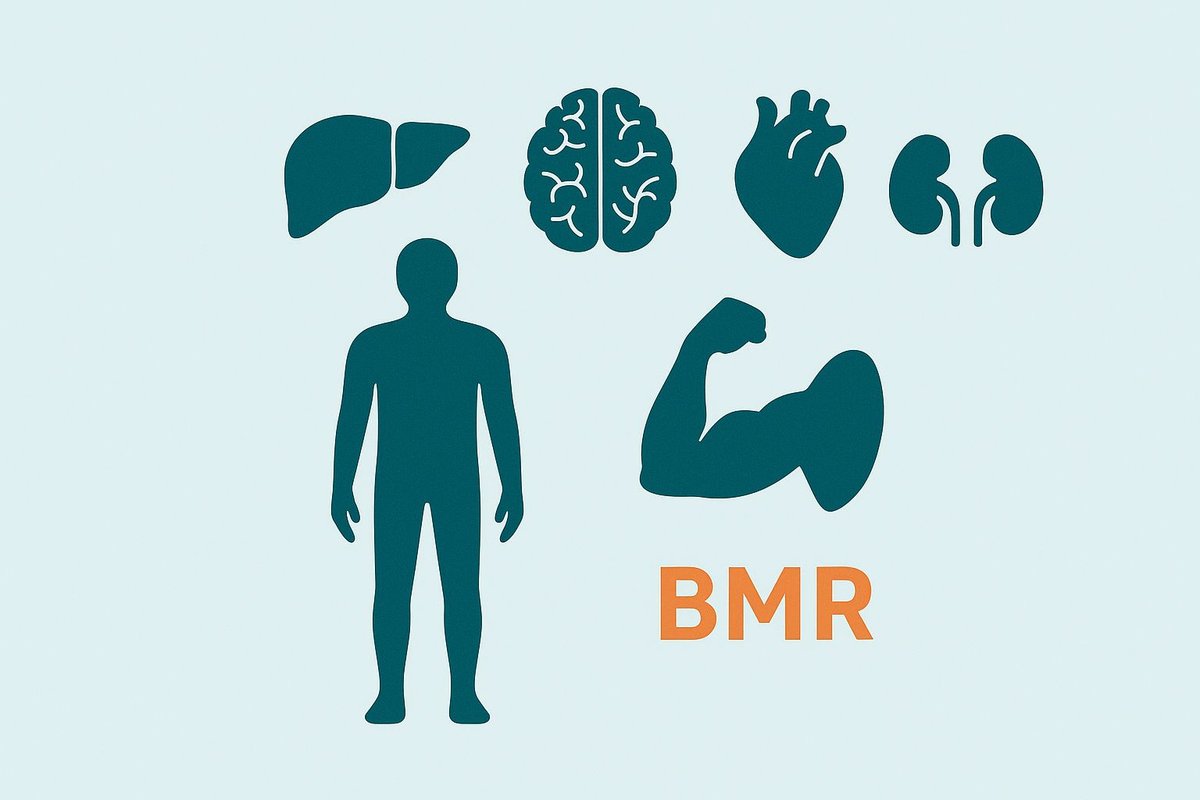
Basal Metabolic Rate (BMR): the science-backed guide your body’s been waiting for
BMR is the energy your body burns doing “nothing.” Here’s the simple, research-backed way to unders…